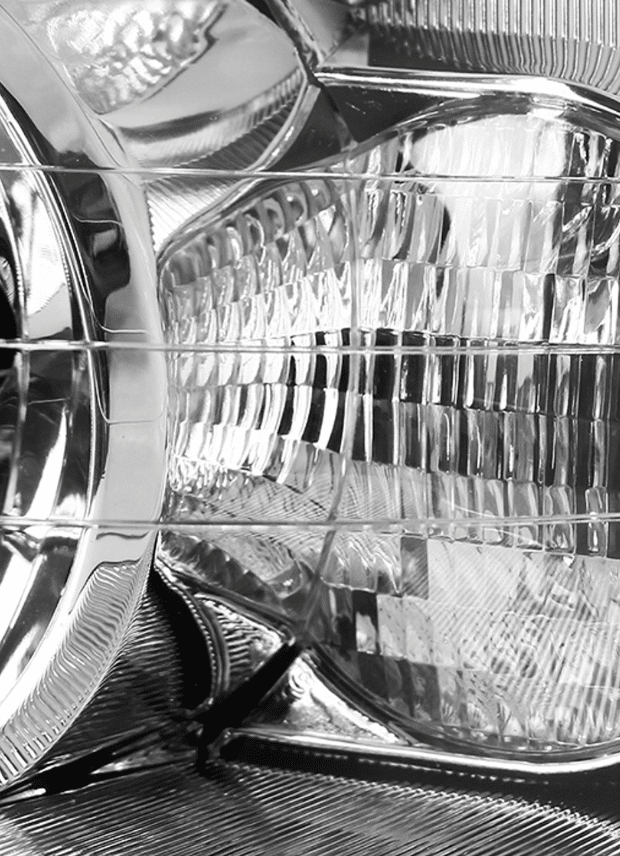
Why Get Headlight Restoration?
Car Detailing Info
Learn all about our headlight restoration process and why it is effective
Why Get your Headlights Restored?
Getting your headlights restored is a wise investment that rejuvenates both the appearance and safety of your vehicle. Over time, headlights can become clouded, yellowed, and scratched due to UV exposure and environmental factors, reducing their effectiveness in illuminating the road ahead. This yellow cloudy look diminishes the vehicles overall appearance and resell value.
Professional headlight restoration not only restores the aesthetic appeal of your vehicle but also significantly improves nighttime visibility, enhancing your safety on the road.
Newer vehicles have led lights however there are plenty of slightly older vehicles that don’t. Those vehicles are the same ones that are more likely to become yellow and cloudy overtime. Getting your headlights restored eliminates oxidation, scratches, and imperfections, helping them regain their original clarity. Don’t compromise on safety or aesthetics – choose headlight restoration to revitalize your vehicle and enjoy a safer, more captivating driving experience.

How long does it take for headlights to deteriorate
The deterioration of headlights is a gradual process influenced by various environmental and usage factors. According to AAA, on average, car headlights can start to show signs of deterioration within 3 to 5 years of regular exposure to UV rays, air pollutants, and weather elements. This causes the typical oxidation and tellowing that is commonly seen in headlights. However, the rate of degradation can vary significantly depending on the climate, geographical location, frequency of use, and the quality of the headlight materials. Vehicles frequently parked outdoors in areas with intense sunlight and high levels of pollutants might experience faster deterioration, potentially requiring restoration or replacement sooner. Regular maintenance, protective coatings, and preventive measures can extend the lifespan of your headlights and delay the onset of yellowing, ensuring optimal visibility and aesthetics for a longer period.
Step 1 tapping off the headlight
We initiate the process by delicately taping off the areas surrounding the headlight. This precautionary step safeguards the vehicle’s paint, trim, and other nearby surfaces from any potential damage or abrasion during the restoration process. We use car tape which is designed to be applied on car paint without ripping off or damaging the paints surface. Without this step the paint around the headlight would most likely get scratched or chipped due to the abrasive wool polishing pad used later in the process.
Step 2 sanding down the headlight surface
We initiate the process by delicately taping off the areas surrounding the headlight. This precautionary step safeguards the vehicle’s paint, trim, and other nearby surfaces from any potential damage or abrasion during the restoration process. We use car tape which is designed to be applied on car paint without ripping off or damaging the paints surface. Without this step the paint around the headlight would most likely get scratched or chipped due to the abrasive wool polishing pad used later in the process.
Progressive Grit Sanding Strategy
Each headlight’s unique condition dictates the starting point of our sanding process. The degree of yellowing and deterioration determines the initial grit of sandpaper we employ. For example the worse condition the headlight is in, the lower the grit of sandpaper we use and vice versa.
Staring with a lower and more coarse grit sandpaper, we begin the process of carefully sanding the headlight’s surface. It is sprayed with rinseless wash and sanded. The key to this process is keeping the headlight surface wet and sanding the edges of the headlight as well as the center, making the distribution even. As we advance, we gradually transition to finer grits of sandpaper. Making sure to increase the grit at a steady rate. This strategic progression makes sure to scratch the headlights surface enough, making the surface even and ridding it of the yellowing.
Step 3: Elevating Clarity through Headlight Polishing
You initiate the process by delicately taping off the areas surrounding the headlight. This precautionary step safeguards the vehicle’s paint, trim, and other nearby surfaces from any potential damage or abrasion during the restoration process. We use car tape which is designed to be applied on car paint without ripping off or damaging the paints surface. Without this step the paint around the headlight would most likely get scratched or chipped due to the abrasive wool polishing pad used later in the process.
Dual Action Polishing Precision
Selecting an appropriate polishing pad is essential when it comes to headlight restoration. We use a wool polishing pad due to its exceptional abrasive ability. It can remove scratches very well and restore plenty of clarity in the headlight
Before beginning the polishing process we first prep the polishing pad and lubricate it making sure it doesn’t damage the designated surface. We then apply an abrasive polishing compound to the pad and use our dual action polisher to polish out the scratches we previously made in the headlight with the sanding. The dual action polisher minimizes heat buildup, safeguarding the delicate plastic and preventing potential damage. Gradually, the headlight’s newfound clarity emerges as we gently erase imperfections and unveil a rejuvenated surface.


